Hiawatha Trail – Montana Mountain Biking Adventure
If you’re into the outdoors and you love going on bike rides, you would definitely enjoy biking the Hiawatha Trail. I grew up riding this trail with my family and have very fond memories of this adventureous excursion. I’ve written this blog post to help you plan your trip to the Hiawatha. I’ve included information that we have found helpful over the years in making our day go a little smoother, especially if you’re traveling with children. Enjoy!
What is the Hiawatha Trail?
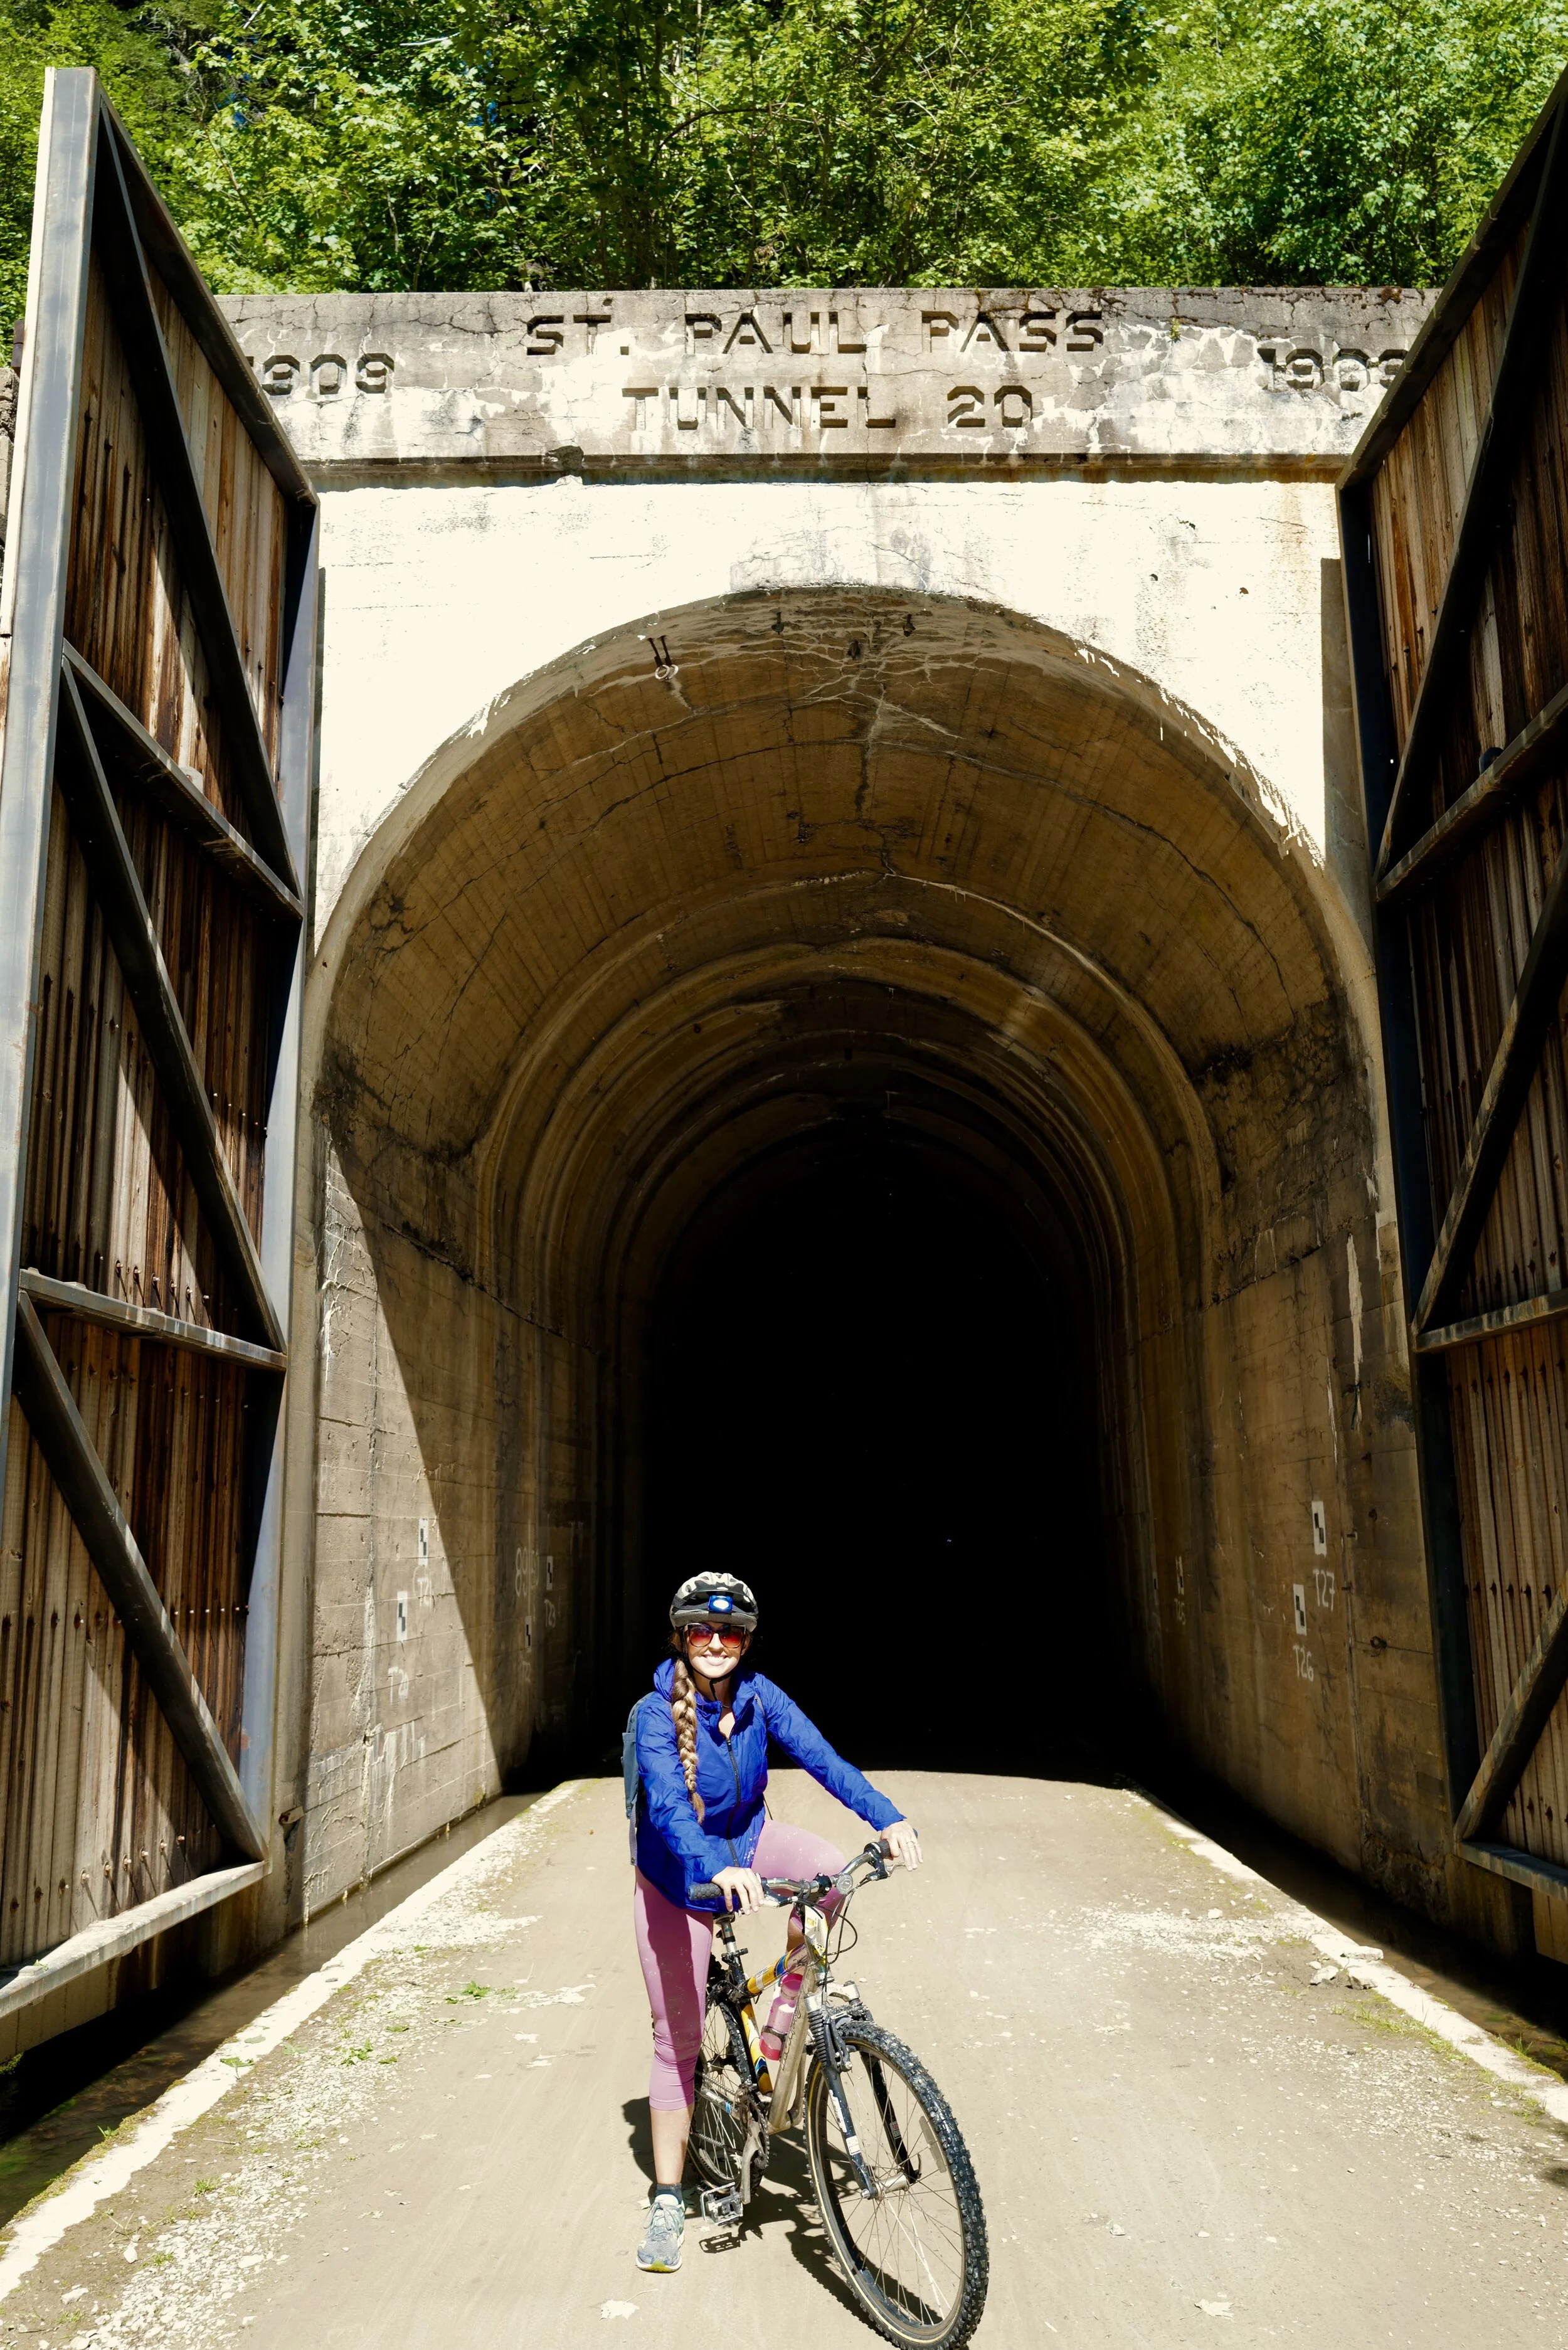
The Hiawatha Trail is a 15-mile long bike ride through the Bitterroot Mountains near Lookout Pass. It is located on US National Forest land near the Idaho / Montana border. The trail takes you through an old train line with 10 abandoned train tunnels that you ride through. While some of the tunnels are short, the first tunnel, St. Paul Pass, is 1.6 miles long! There are 7 sky-high trestles that you ride along while enjoying the most spectacular views. It’s a fun, family-friendly ride, that is fairly easy and downhill.
Where is The Hiawatha Trail Located?
The Hiawatha Trail is located off of the I-90 in Mullan, Idaho, 83846. It is located on the Idaho / Montana border near the Lookout ski resort. You can enter on either side – The Montana side Exit 5, or the Lookout Pass ski area Idaho side, Exit 0. When we visit, we enter through the Montana side, which is what I’d recommend. It is faster and easier, and you will save a lot of time. We have our own bikes, so we don’t have to worry about renting anything. (If you need to rent bikes, they are only rented from the Idaho side)
History of The Hiawatha Trail
The Milwaukee Road was a famous railroad company that was very successful out of Chicago. They wanted to extend to the Pacific Northwest before their competition did, and be the first railroad in the Idaho / Montana area. After much exploration and years of planning, they decided where to build and made a plan. Starting in 1906 and continuing until 1911, 9,000 men from around the world worked year-round to finish this new railroad, even in the worst weather conditions. It cost $234 million to complete, an estimate that was much higher than they had expected. On July 4, 1909, the first train ran down the line, and 6 days later, passengers were also riding. In 1910, there was a devastating forest fire in Northern Idaho and Western Montana. 3 million acres of forest land was burned in this area. The smoke was terrible, and many surrounding towns were destroyed. Hardships continued, and the railroad went bankrupt in 1935. The railroad slowly began to deteriorate. The last train passed through in 1980, and shortly after, the line was abandoned. In May of 1998, it opened to the public as a bike trail and today is known as the Hiawatha Trail.

Renting Bikes and Helmets
Being from the area, we always bring our own bikes and helmets with us. If you are coming in from out of town, there is also the option of renting your gear. Just make sure you make a reservation ahead of time to ensure that they don’t run out. Make your bike rental reservations here.
Adults (13 and up) –
Adults can rent a comfort ride bike, $40, or a mountain bike, $35, both include a helmet and headlamp. They also have tandem bikes available on request.
Children (12 and under or under 4’11) –
Children can rent a standard mountain bike with front shocks for $25, which includes a helmet and headlamp. For the younger ones, they have Burley trailers for $28 and tag-a-longs for $25, for them to ride in or on with an adult rider. All of these options also include a helmet. Helmets are required for all riders on the Hiawatha Trail. Jimmy sat in a trailer that we borrowed from my sister for the entire ride, being pulled by Nate.
Helmets and headlamps can also be rented separately for $8 each.
How Much Does It Cost to Bike the Hiawatha Trail?
There are three different costs that go into biking the Hiawatha Trail- The trail pass, gear rentals, and the shuttle tickets. More information below:
Trail Pass –
Before you start your ride, you will need to buy trail passes for everyone in your group. You can buy these online ahead of time here or in person when you arrive. 13 and up costs $13 a person and 12 and under costs $9 a person. When you buy your trail passes, they give you a sticker for each person in your group to put on their individual bikes. This way they can make sure that everyone has paid by seeing your sticker. Even if you buy them online, you will still need to go to the front and show them your online ticket purchase to get your required trail stickers. There really is no benefit to buying your tickets ahead of time online.
Bike / Helmet Rentals –
All of the bike and helmet rental information is listed above. If you are planning to rent bikes and helmets, make sure that you reserve them ahead of time because they run out quickly. It isn’t a good idea to go to the trail the day of and expect that they have bikes available. I’d recommend planning ahead to ensure there are bikes.
Shuttle Tickets –
Most of the people that do the bike ride take the shuttle back afterwards. It costs $18 per person to ride the shuttle. Make sure you buy your tickets before you start on the bike ride because you will need them when the ride is finished to board the shuttle. You can buy these the day-of or online ahead of time.

Hiawatha Trail, Waterfall
What to Bring on the Hiawatha Trail?
In order to make your bike ride as successful, safe, and fun as possible, there are some things that you’ll need to bring with you. With that being said, I’d recommend packing light because everything that you bring you’ll have to carry. Only bring what you really need. Pack smartly, pack minimally, but don’t forget these essentials that will make or break your ride. Here is what I’d recommend bringing:
Bikes / Helmets –
Like I said above, you can either bring your own bikes and helmets or you can rent them with a reservation. It does say on the website that there is an option of hiking the trail, but I’ve never seen anyone do that during the times that I’ve visited. It is primarily a biking trail, but hiking it could be something to look into.
Headlamps / Flashlights –
Having some sort of light with you is a must when biking the Hiawatha Trail. Every rider in your group needs their own light. The reason you need these lights is for the tunnels. When you’re riding in the tunnels, it gets really dark, and without a light it can become dangerous to continue. Having a light (or two!) helps you to feel comfortable getting through the tunnels and allows you to stay calm and enjoy the ride. I’d recommend a headlamp that can wrap around your helmet and easily turn on and off. Some people also attach a light to the front of their bikes for extra safety. I gave Jimmy his own flashlight to use while riding in the trailer, just for fun. He loved shining it around in the dark tunnel, and it gave him a job to do.
Light Jacket –
Speaking of the tunnels, they get really cold. The temperature is always surprising to me even though I’ve biked the Hiawatha many times. This last visit, we went on a hot August day and I was boiling up in the sun. We entered the first tunnel and it became so cold. I stopped and put my windbreaker on. I was really glad that I brought it. The temperature changes can be nice though because they cool you off when it’s hot out. With 10 tunnels along the path, the ride changes from hot to cold, out of the tunnels and in the tunnels, and I grew to appreciate the cold tunnel rides. But that first tunnel, being 1.6 miles long, it was a bit too cold for my liking, and having a jacket saved me. When I wasn’t using it, I tied it around my waist.
Water Bottles –
You will need lots of water when you bike the Hiawatha! I drank all of my water early on last time and wished that I had brought a little more. Bring more than you think you’ll need.
Sunglasses –
It gets very sunny up there, so having your sunglasses is a huge help!
Camera –
With so many scenic views and great picture opportunities, make sure to bring your camera! The Hiawatha Trail is gorgeous!
Sunscreen –
If you’re biking this trail mid-day in July or August, you'll need to bring some sunscreen. You’ll be glad that you did. We applied ours before the bike ride started so I wouldn’t have to carry anything extra in my backpack during the ride.
Glow Sticks –
This is 100% optional, but we like to bring glow sticks with us to the Hiawatha so the kids can wear them when they are in the dark tunnels. It’s fun for them to wear around their necks and wrists and makes the day even more memorable.

Hiawatha Trail
What to do for Lunch on the Hiawatha Trail?
Another thing you might want to consider bringing with you is a packed lunch. Unless you’re biking the trail quickly for exercise, or you ate a huge meal before you started, you’ll want some lunch to enjoy on the trail especially if you have children with you. We always fill a cooler with the typical sack lunch items- grapes, chips, and some kind of sandwich that I make beforehand that are individually wrapped with our names on them so we don’t get them confused. It’s convenient having Jimmy in a bike trailer because he only takes up half of the space in it. The other half is where we put the cooler full of food and water. Eating lunch on the trail is a nice break about halfway through the bike ride. We usually find a pretty spot to sit off the trail for our picnic. This time around, we sat on one of the bridges and enjoyed the view. After the food break, I always feel ten times better and ready to tackle the rest of the ride.
There is also the option of buying sack lunches from the people who run the Hiawatha Trail to take with you on your ride. On this page, you can reserve your sack lunch of a sandwich, chips, and a drink for $12. They have three sandwich options – turkey, ham, or vegetarian. I’ve never tried their sack lunches so I can’t vouch for them, but it’s nice to have that option if you find yourself in a pinch and didn’t bring your own.
At the start and end of the trail, they have little concession booths set-up where they sell bottled drinks (Pepsi, Gatorage, etc.) and snacks. It was really nice to have the option to buy some cold drinks after a long ride, to enjoy on the drive home. They also sell some Hiawatha Trail memorabilia.

Hiawatha Trail
Safety Reminder
The tunnels, especially the first one, get very dark when you’re riding through them. That’s why it is so important to wear your headlamp. Also, learn from my mistake and make sure to remove your sunglasses before entering into the tunnel. I forgot that I had them on and wore them in the tunnel. I thought it seemed darker than usual, but just kept on riding. About halfway through, I realized that I had them on, and after taking them off, it was so much brighter and easier to ride! Also, stay in a single file line when you ride, or at least no more than double across. Years ago, my aunt was passing someone in the tunnel and her tires slid into the ditch on the side. She fell off her bike and dislocated her shoulder. She was fine in the end, but it was very painful for her and ruined the rest of her bike riding experience that day. This can be easily avoided by not getting too close to the edge of the tunnels but staying more towards the center. Also, watch out for the other bike riders who are coming from the other direction. You don’t want to hit them or for them to hit you! One more thing, if you plan on doing any hiking while you’re up there, it is always smart to bring bear spray. This area is grizzly bear country and it is best to be prepared.
Riding the Hiawatha Shuttle
The shuttle is convenient and nice, a literal old yellow school bus. They load up half of the bus with bikes and the other half with people. The problem with the shuttle is that often times you wait forever for it to come. Sometimes your group doesn’t fit on, so you have to wait even longer for a second shuttle to come. I’ve read in the reviews that in the busy summer months, some people waited over 2 hours for the shuttle, standing out in the August sun and heat with no shade. The wait time seems to be better during the weekdays and in the mornings.
There are some people that get to the end of the trail just to turn around and go back the way they came, riding a total of 30 miles and ending up where they originally parked. There is also the option of driving your own car and parking it in the lot by the end of the trail. We’ve done this twice and while it is a mess and quite complicated to do, it was nice to have the car there waiting for us when we finished so we didn’t have to wait for the shuttle to come. With that being said, I wouldn’t recommend it because it takes forever to do, especially if you’re not familiar with the area. (Last time Nate drove the car up and parked it, he got a flat tire, and we ended up waiting for him for over an hour!) Despite the problems with the shuttle, I’d recommend taking it. it is the easiest way to get back to the entrance.
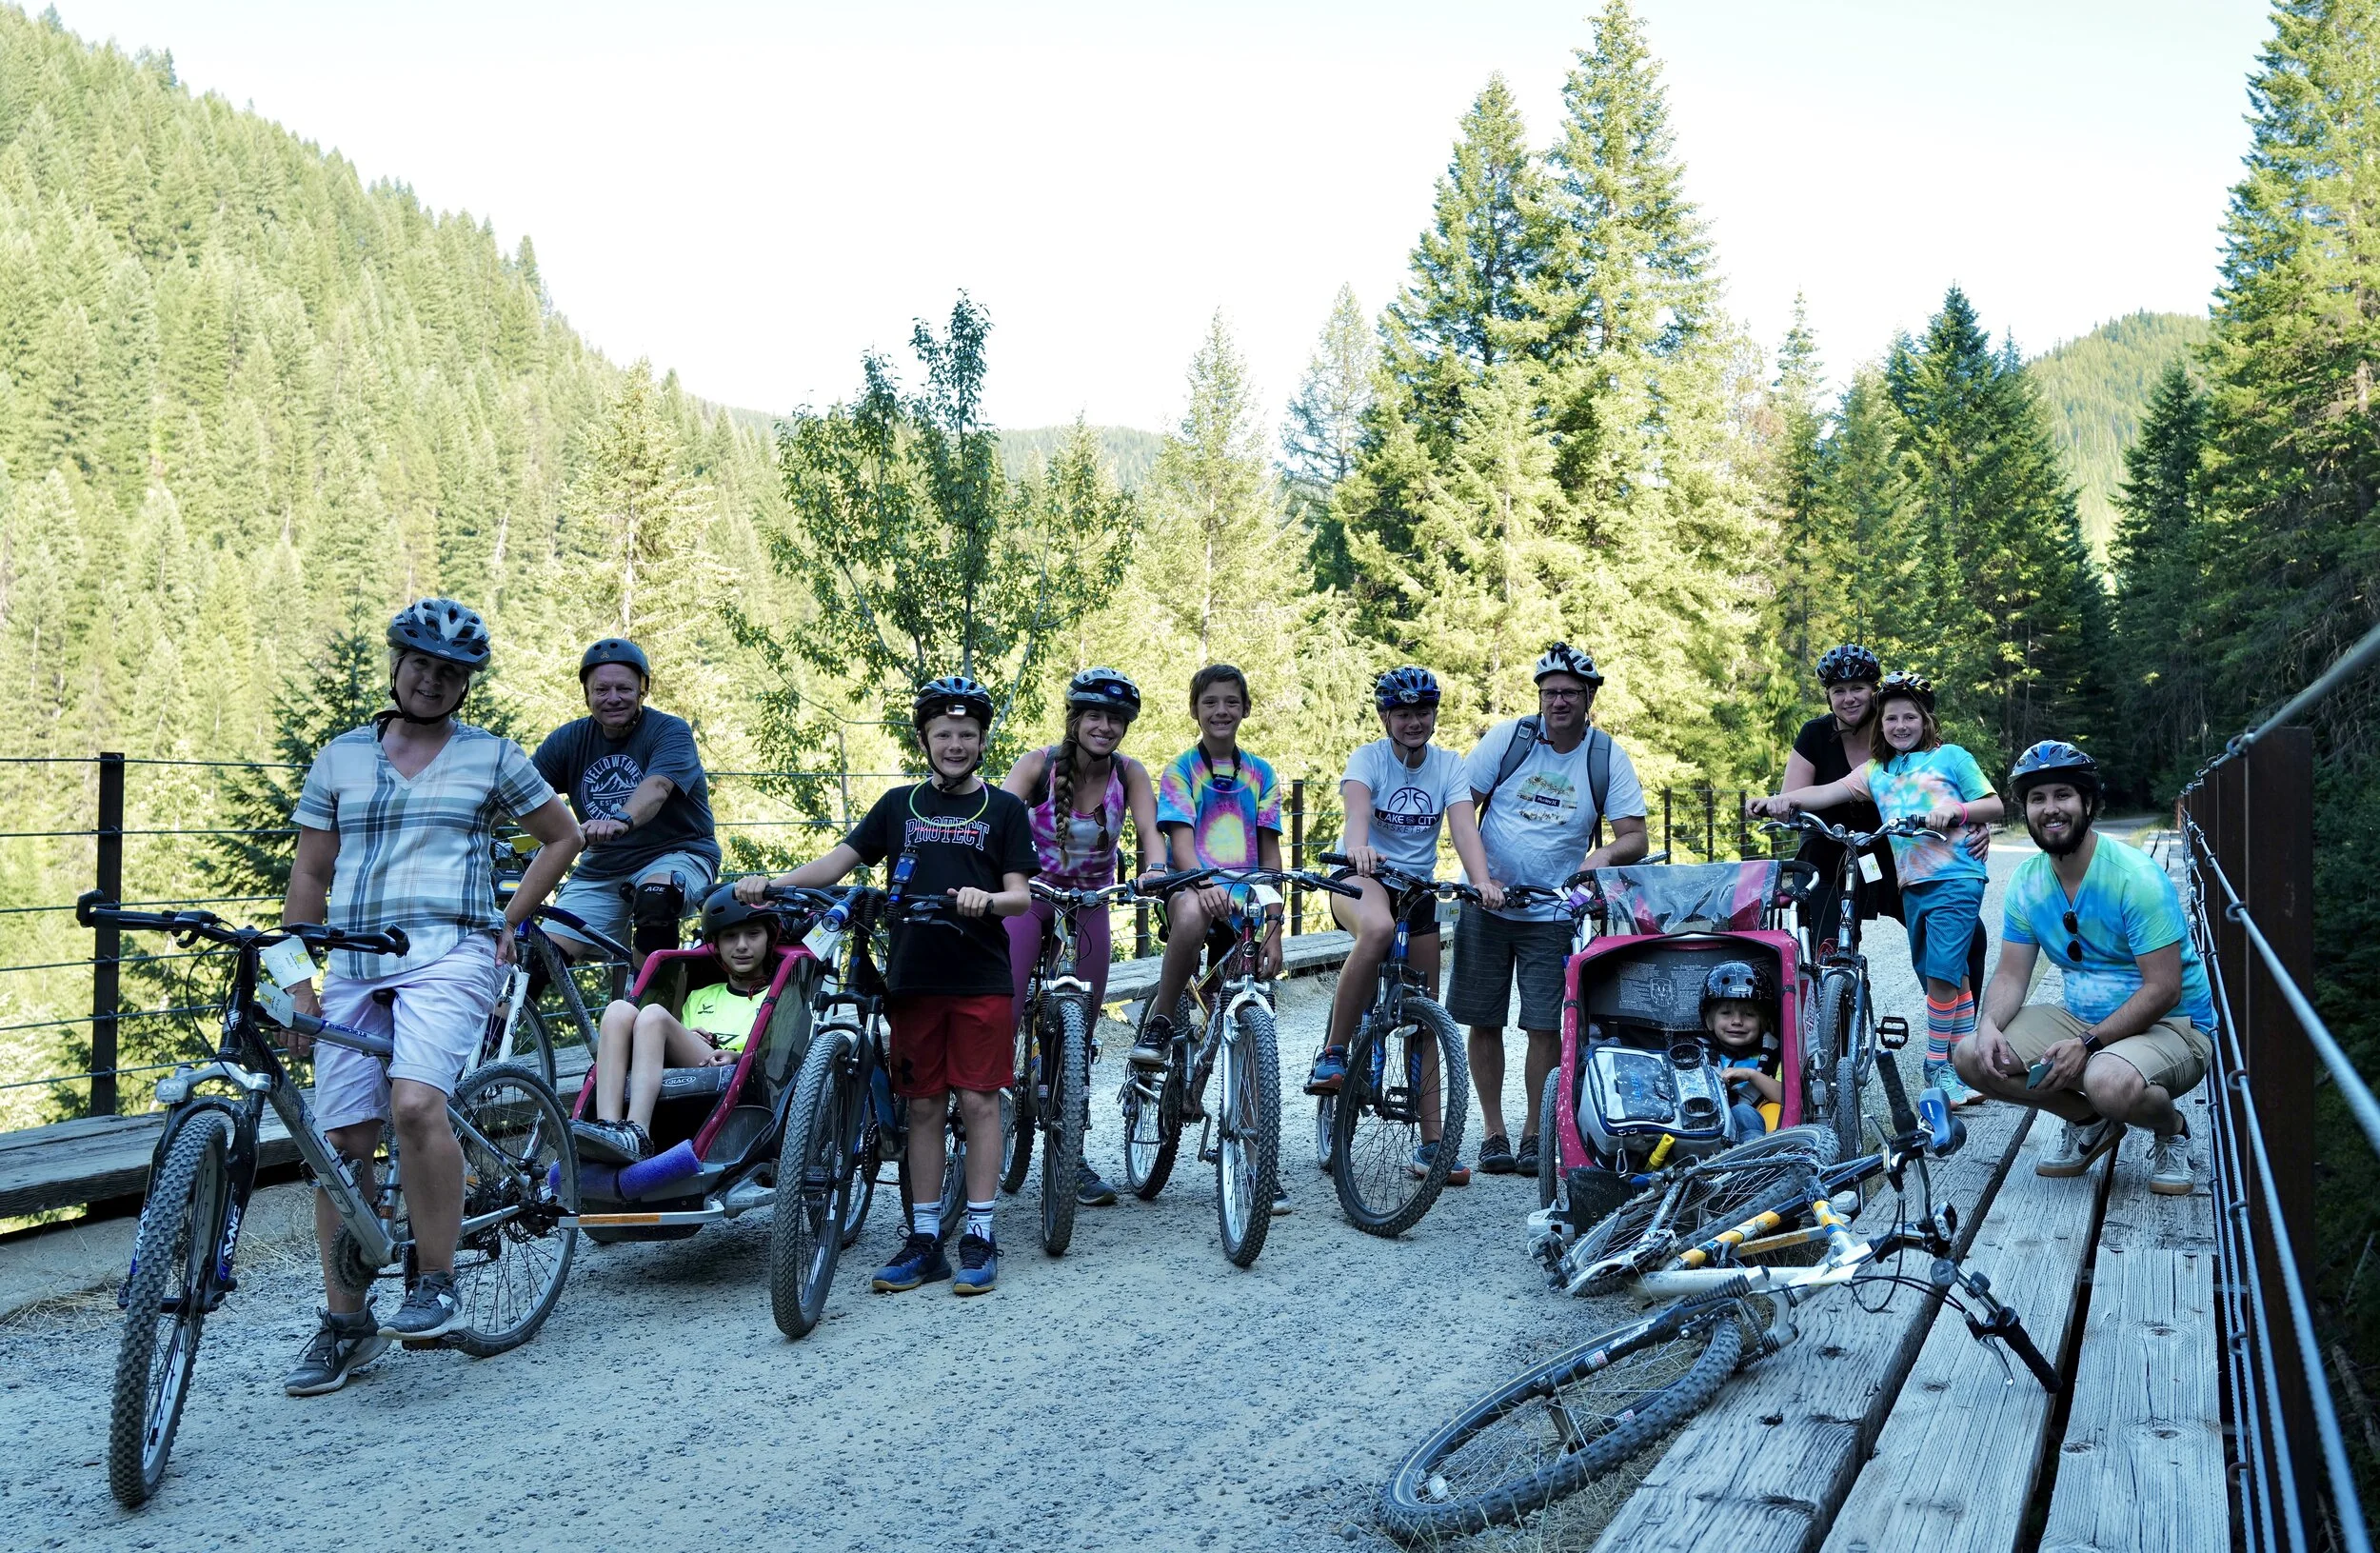
Hiawatha Trail, The Whole Gang
I hope you enjoyed this blog post and that it helps in your plans to bike the Hiawatha Trail with your family. It’s a really fun adventure. I think it’s something that everyone should experience once. What’s your favorite biking trail? Tell me in the comments below!
For even more info about the Hiawatha, checkout this page of FAQ.