My Favorite Homemade Playdough Recipe – Inside with Kids
I think we can all agree that life is crazy right now. The Coronavirus is nothing that we expected or planned for. We are spending our days mostly all inside, and for those with young kids, this can be more challenging than we realized. As a mom, I am always thinking of ways to entertain Jimmy and help him learn and grow while having fun too. I wanted to share something that I love today that I hope will help you get through these crazy times and make them more manageable.
I’ve made homemade playdough more times than I can count. I started babysitting when I was 12 and would often make it with the kids that I babysat. As a teacher, I’ve made it in my classroom many times. I’ve made it with my nieces and nephews, and now that I am a mom, I’ve made it many times with Jimmy. I am always looking for the BEST playdough recipe that there is, and trust me, I’ve tried a lot of them. Today I wanted to share with you my absolute favorite playdough recipe that I make on a regular basis whether with Jimmy or with my students.

This is What You’ll Need:
All-Purpose Flour
Canola or Vegetable Oil
Cream of Tartar
Salt
Food Coloring
Water
Medium Sized Pot
Metal Spoon
Ziploc bags or small tupperwares with lids to store the playdough
Glitter (optional)
Get Your Child Involved
What I love about making playdough is that your child can help right along side of you. Prop them up on the kitchen counter and allow them to add some of the ingredients and do some of the mixing. Just be careful of the stove and take necessary precautions. Not only is the ending product fun to play with, but your child will love the process of making it as well. Don’t be scared to get your kids involved with every step along the way!

My Favorite Playdough Recipe
INGREDIENTS:
2 CUPS ALL PURPOSE FLOUR
3/4 CUP SALT
4 TSP. CREAM OF TARTAR
2 CUPS LUKEWARM WATER
2 TBS. VEGETABLE OIL
FOOD COLORING (I love the Betty Crocker Neon Gel Food Colors)
INSTRUCTIONS:
Get out a medium sized pot and mix together the flour, salt, and cream of tartar. Add the water and vegetable oil. Turn the stove to medium heat and cook, stirring constantly. Mix well. Continue to cook until the dough has thickened and begins to form into a ball. You don’t want it to be wet, but you also don’t want to overcook it and dry out.
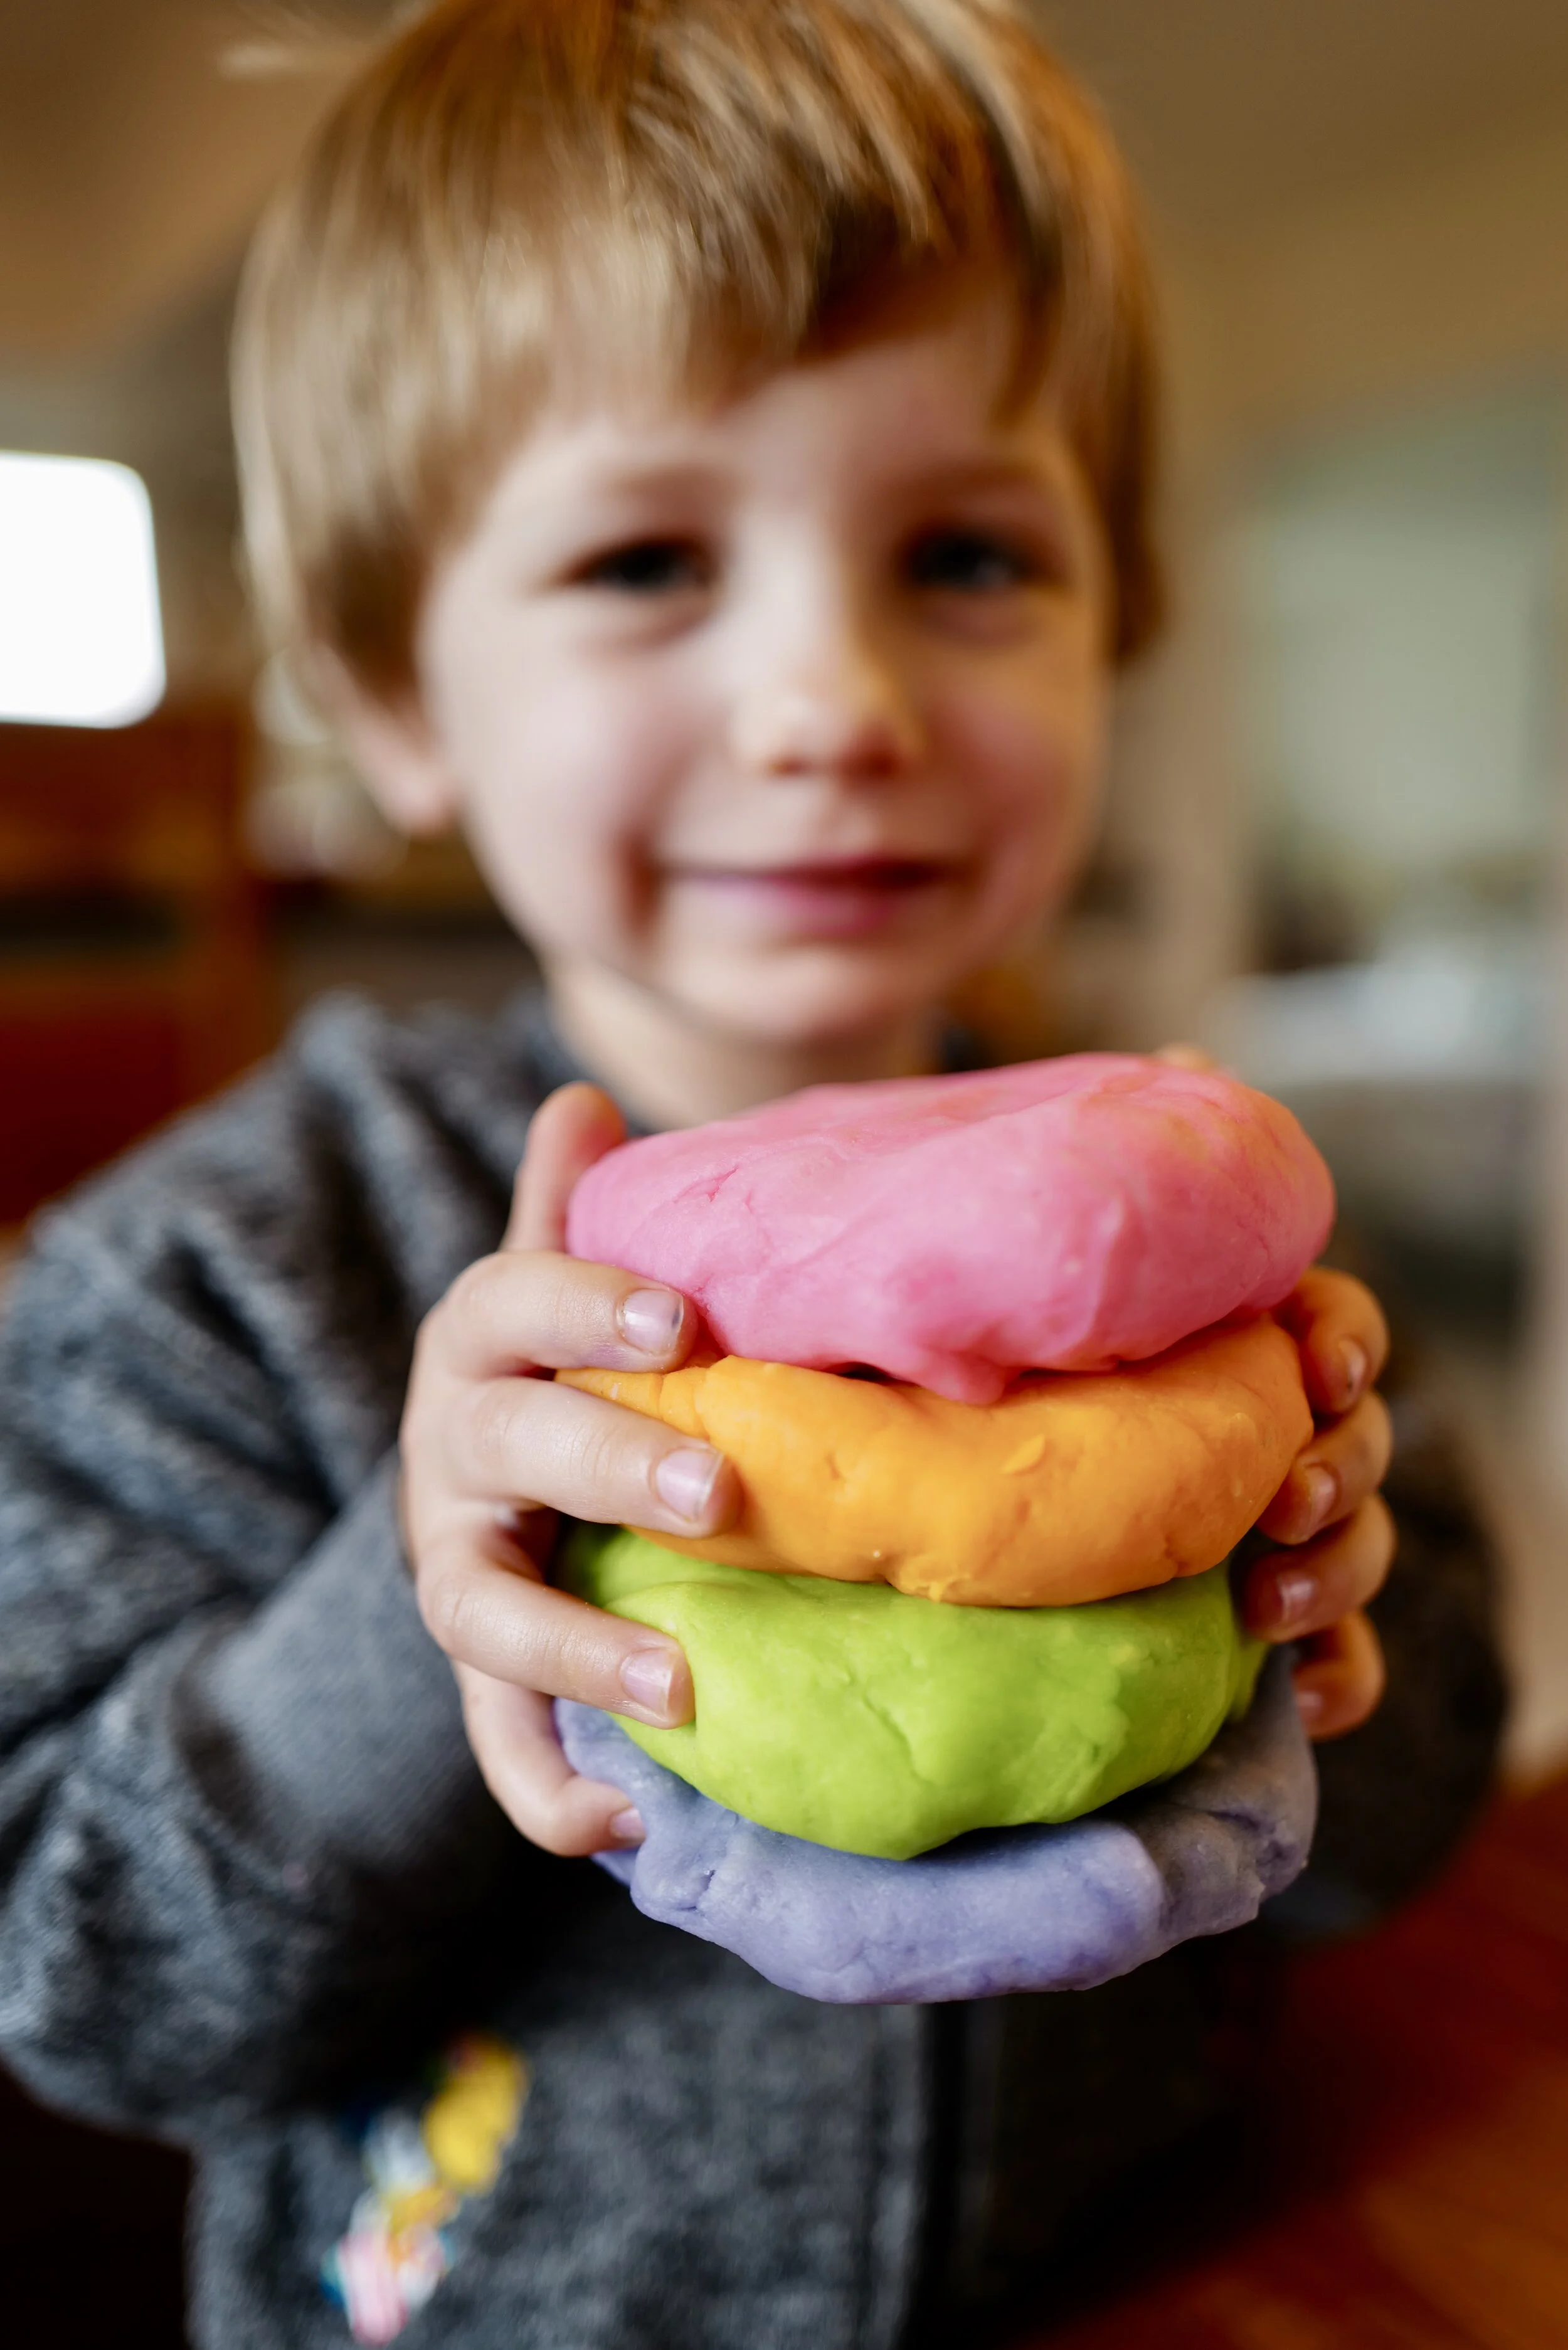
When it reaches the desired consistently, take the playdough out of the pot. Watch out, it will be hot. Let cool for 5 minutes or until you can comfortably handle it. Divide the playdough into balls, the same number of colors that you plan on making. We did four different colors so we divided ours into four small balls. Make a dent with your thumb in the top of each ball of playdough and fill it with food coloring. I love the Betty Crocker Neon Gel Food Colors because they are so bright and fun! Carefully mix the playdough together with your hands until the color is incorporated throughout the entire ball. Add more food coloring for a darker color if desired. Wash your hands after you mix each ball to avoid color mixing. You can also add glitter to each ball for a little sparkle to your playdough.
This recipe can easily be doubled or tripled. I love this playdough because it stays soft for a long period of time. When you are done playing with it for the day, just simply store it in some Ziploc bags or in a tight tupperware of some kind.

Playdough Tools
Playdough can be fun to play with by itself, but adding in some different tools each day to use with the playdough can help extend the activity and keep your children interested for a longer period of time. I would recommend starting out with just the playdough for the first day or two and allowing your children to get creative with it by itself. On day three or so, add in some rolling pins and other small tools like plastic knives and forks. Encourage your child to change the shape of the playdough with the tools and see what different textures they can make. Get creative. Golf tees, popsicle sticks, polished rocks, feel free to add whatever fun materials that you have laying round the house to your playdough play. I’m always amazed at what they come up with!
Later in the week, add in more advanced tools like cookie cutters, allowing the children to use the playdough in a more structured way. I love these cookie cutters by Wilson. I got them as a wedding gift from my cousin Charley years ago, and still use them today. Thanks Charley! There are a huge variety of shapes for everyone’s interests, 101 pieces in total. They have shapes for different holidays too, making it perfect for about any occasion.

Benefits of Playdough
Playing with playdough has so many benefits for kids. Playdough helps your child strengthen their fine motor skills. Children build their hand muscles when they squeeze and manipulate the playdough. It also helps to strengthen eye-hand coordination. Playdough also encourages creativity and imagination. Your child is free to explore and create. The possibilities are endless. Playing with playdough also has a calming effect on anyone who uses it. Right now with all the stress and anxiety in the world, it is so nice to sit down with your loved ones and use playdough to de-stress and unwind.

Teacher Tips
The teacher in me loves how this Wilson cookie cutter set includes letter and number cookie cutters. It’s the perfect way to teach your children basic literacy skills without them even realizing it! Making learning fun is the key. Depending on the age of your child, start off with simply exposing them to the letters and becoming familiar with them. Then, begin to teach them the letter names. Then, move on to the letter sounds.
Once they’ve mastered that, start putting small 3 letter phonetic words together that are easy to sound-out like CAT, BED, and FOX, for example. Help your child to say the sounds separately and then together, making the connection that the individual sounds come together to make a familiar word. You could also use these words in a sentence for a more advanced activity. “The CAT was snoring loudly by a FOX in the BED.” The sillier the sentence, the more your children will be interested in it! Then, maybe build a sculpture of your sentence with your playdough. You can really go so many different ways with it.
For older children, maybe consider making a game out of it. Make a bowl of ideas to build with the playdough and write them down on small pieces of paper. Draw a paper, build the item, and take turns guessing what everyone made!

I hope you love this playdough recipe as much as I do! Let me know if you make it and what you think. I’d love to hear from you! Hang in there and let’s get through this together, one creative inside activity at a time.